
Step-by-Step Guide: Replacing a Bandsaw Blade Without Downtime
Replacing a bandsaw blade is one of those tasks that can seem intimidating at first, but once you've done it a few times, it becomes second nature. The real challenge isn’t just swapping out the blade—it’s doing so without causing any downtime. Downtime means lost production, which can significantly impact both the bottom line and efficiency. In industries where time is money, getting the blade change done quickly and without mishap is crucial. The key to achieving this is preparation, understanding the process, and having the right tools at your disposal.
Step 1: Safety First—Get Ready for the Job
Before you even think about the blade, make sure you've prepared the workspace and equipment. You'll be handling heavy machinery and sharp blades, so the right safety precautions are a must.
- Turn off the Power: This may seem obvious, but it’s easy to forget, especially if you're in a rush. Disengage the power supply to the bandsaw before doing anything else. This step is crucial for preventing accidental starts while you're working.
- Wear Protective Gear: Always wear the necessary personal protective equipment (PPE). This includes safety gloves, goggles, and steel-toed boots to prevent injuries from flying debris or the sharp blade.
- Clear the Work Area: Clear out any clutter around the bandsaw to avoid accidents. Ensure that you have enough space to move freely and safely while working.
- Have Your Tools Ready: Ensure that the tools you need are at hand. Typically, you’ll need:
- A wrench or socket set for removing bolts.
- A blade-changing tool (if applicable).
- A clean rag or cloth for wiping any oil or debris off the bandsaw and blade.
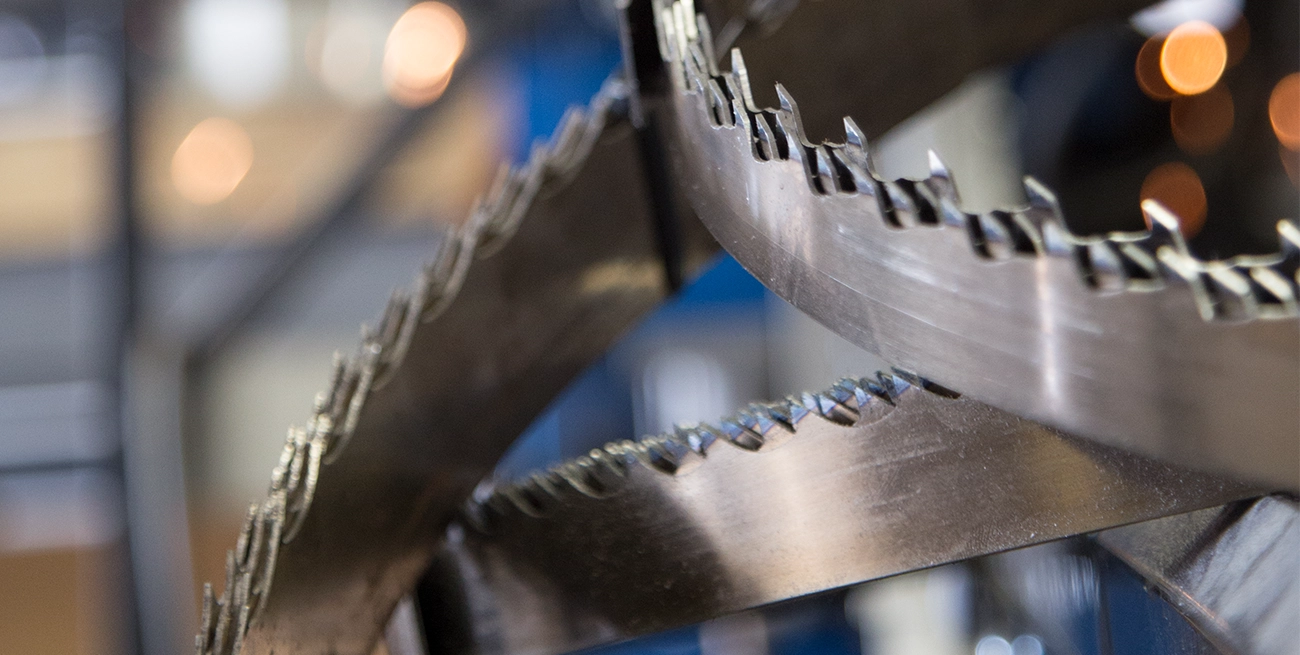
- A new blade (make sure it’s the correct size and type for your machine).
Step 2: Remove the Old Blade
The first major step in the process is to remove the old blade. Depending on your specific bandsaw model, this can be a straightforward or slightly more involved task.
- Release Tension on the Blade: Most bandsaws have a tension adjustment mechanism that holds the blade tight during operation. Start by loosening the tension on the blade. This will make it easier to remove the blade without damaging the machine or the new one.
- Remove the Blade Guards: Bandsaw blade guards are typically adjustable. Slide or remove any blade covers or guards that are in the way. These can be bulky, but it’s important to get them out of the way so you have clear access to the blade.
- Loosen the Blade Guides: Most bandsaws feature adjustable blade guides that keep the blade running true during cutting. Loosen or remove these guides so the blade can pass through freely. Be sure to mark where they were positioned to make the reinstallation of the guides easier.
- Unbolt the Blade: Once the blade is free from tension and obstruction, you can start unbolting it from the wheels. Use your wrench to carefully remove any bolts securing the blade to the upper and lower wheels. Keep track of all bolts, nuts, and washers as you remove them, and set them aside for reassembly.
- Carefully Remove the Blade: Once all bolts are removed, carefully slide the blade off the wheels. At this point, you should be able to pull the old blade off without much difficulty. If the blade is particularly stuck, gently tap it with a rubber mallet, being careful not to damage the wheels or blade guides.
Step 3: Inspect the Bandsaw for Wear
Now that the old blade is removed, this is a perfect opportunity to inspect the rest of the machine before you insert the new one. This step is often overlooked, but taking the time to check for wear and tear can save you from future problems.
- Check the Wheels: Look over both the upper and lower wheels for any signs of wear or damage. Ensure the surface of the wheels is smooth and free from cracks or grooves that could affect the new blade's performance. If the wheels are worn, it may be time to replace them, but if they look okay, proceed with installation.
- Examine the Blade Guides: These guides help maintain the blade’s stability during operation. Check to make sure the guides are in good condition. They should not be excessively worn or damaged. If they need adjustment, now’s the time to do it.
- Clean the Machine: Wipe down the bandsaw, removing any debris, dust, or built-up residue from the cutting area. This helps ensure everything operates smoothly and prevents anything from interfering with the blade change process.
Step 4: Install the New Blade
Now that you’ve inspected everything, it’s time to install the new blade. This is where you’ll notice that the preparation from earlier really pays off.
- Check the Blade for Damage: Before you install the new blade, check it over for any damage. It should be free of bends, cracks, or any imperfections that might affect its performance. Don’t risk installing a damaged blade—doing so could ruin your machine or your workpiece.
- Install the Blade on the Wheels: Position the new blade on the upper and lower wheels. Make sure the teeth face the right direction and that the blade is sitting properly on the wheels. It’s easy to misalign the blade, which can lead to poor performance or excessive wear, so take your time to get it right.
- Re-secure the Bolts: Once the blade is properly aligned, it’s time to reattach the bolts that secure the blade to the wheels. Tighten the bolts, but don’t overtighten them. You don’t want to risk damaging the blade or the wheel. Use a torque wrench to ensure the bolts are properly secured.
- Re-tension the Blade: With the new blade in place, start adjusting the blade tension. The tension needs to be just right—too loose, and the blade could slip off during operation; too tight, and you risk damaging the blade or the machine. Refer to your bandsaw’s manual for the correct tension settings for the blade you’re using.
Step 5: Adjust Blade Guides and Guards
Once the blade is in place and tensioned, it’s time to put everything back together.
- Reinstall the Blade Guides: Position the blade guides back into place. Make sure they’re positioned correctly for the new blade. It’s important that the guides are set correctly to prevent unnecessary wear and to ensure the blade runs straight and true.
- Replace Blade Guards: Slide or secure the blade guards back in place. This ensures that the blade is properly shielded from accidental contact. Double-check that everything is in position and locked down.
- Double-check All Bolts and Adjustments: Go over all bolts and adjustments one last time. Make sure everything is secure before turning the machine on.
Step 6: Perform a Test Run
Before you get back to production, always perform a test run to make sure everything is operating correctly.
- Turn on the Bandsaw: Power up the machine and run it at a slow speed initially. Watch the blade closely for any signs of misalignment or excessive wobbling. If the blade is running smoothly, gradually increase the speed.
- Listen for Unusual Sounds: Pay attention to any unusual noises, such as grinding or squealing. These can indicate issues with blade alignment, tension, or the guides. If everything sounds normal, you’re good to go.
- Check the Cut: Once you’re confident the machine is running smoothly, make a test cut on a scrap piece of material. Inspect the cut quality to ensure the blade is functioning properly.
Step 7: Fine-Tune and Continue Operations
If everything is working correctly, you’re all set. If there’s any sign of improper cutting or excessive noise, take the time to adjust the blade tension or guide settings as necessary. Once you’ve made the necessary adjustments, you can return to full-scale production.
Avoiding Downtime in the Future
While this process seems involved, the real secret to replacing a bandsaw blade without downtime lies in your preparation. Keeping the bandsaw well-maintained and having a clear process for blade replacement can drastically reduce the time spent on these kinds of tasks. Regular maintenance checks and using the right tools for the job will go a long way in keeping downtime to a minimum, so your shop can keep producing quality work with fewer interruptions.